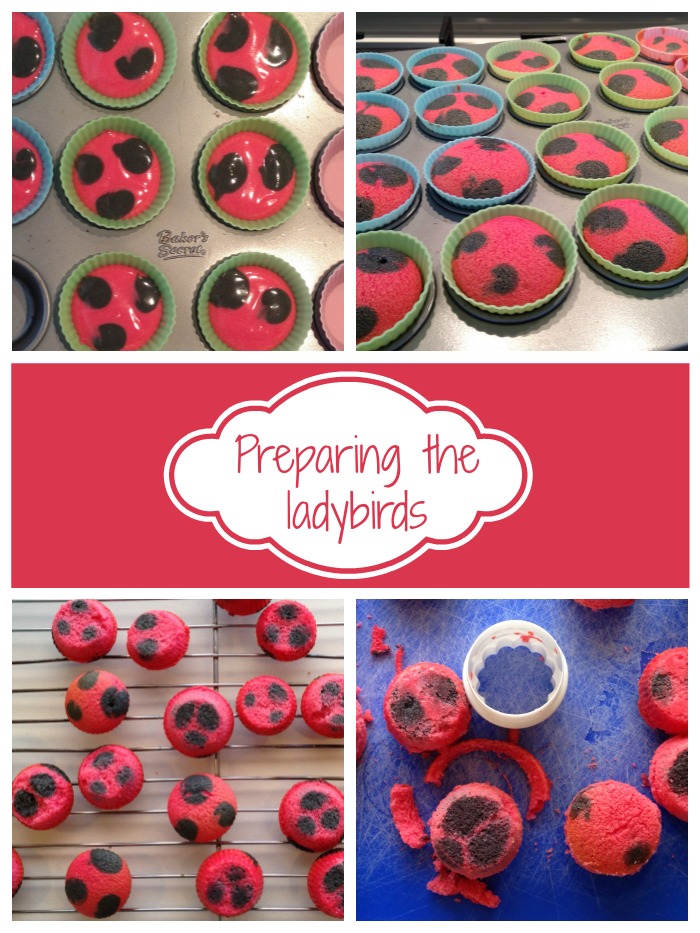
I have to admit this was a bit of a painstaking process – I spent the whole morning baking! The aim was to make a surprise inside cake, with hidden round red ‘ladybirds’, complete with black spots. I had been inspired by some amazing photos on pinterest, and just had to have a go at it myself. So with my nieces second birthday on the horizon I decided to take on the challenge.
First I made the ladybugs in a mini muffin tray. You could use a cake pop tray, but I didn’t have one. I coloured most of the cake batter red, and a little bit black. I spooned a small amount of red into the mini muffin tray, then injected two or three dots of black using a Wilton 260 tip. After they were baked I popped them out of their cases then tried to trim them with a 1 1/2 inch round cookie cutter like I did with my practice brown and white polka dot cake. But for some reason these two tone cupcakes just didn’t like being attacked with the cookie cutter. They often split along the red sections between the black dots. Hmm, fragile little devils! So I trimmed some using a knife, but it’s hard to make a curve out of a straight line! They needed trimming though, because they were quite a bit wider at the top than the bottom, and wouldn’t stand up on their side the way I needed them to.
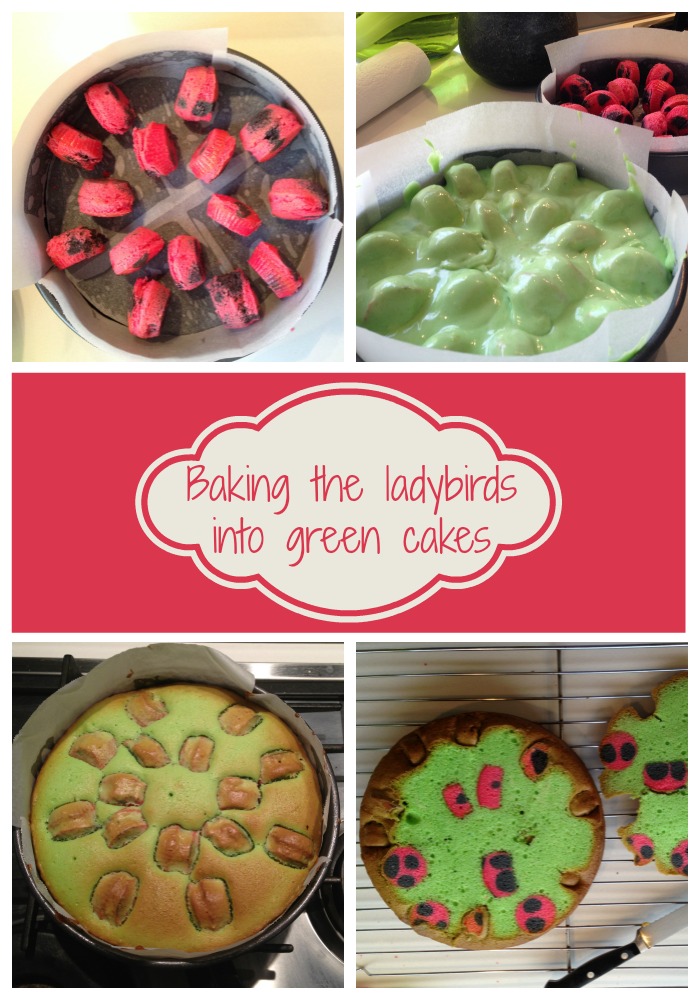
Anyhoo, I prepared the cake tins, arranged the ladybird cupcakes and carefully spooned some green cake mixture over the top. I wasn’t sure how much to add, but kept going until there was green between all the red cupcakes, and a layer over the tops as well. You could still see the mounds of the hidden cupcakes beneath. Unfortunately, some of the ladybirds moved during baking. Some just rose slightly in the mix, but others rolled over as well. So when we cut into the cake they might not look like circles any more, but more like rectangles I guess. Oh well, I really can’t be bothered starting over, so this will be the cake my niece gets on the weekend. I think next time, if I ever bake this cake again, I’ll buy a cake pop mould – it would cut out soooo many steps and make the whole process a LOT easier! And while I’m trying not to spend too much money at the moment, there are a whole lot of other things I could have got done today while the kids were at school!!


A penny for your thoughts!