
I think I’m slowly getting better at setting out the dessert table with each party we have. The trick to success though would be to have a practise run a few days before the party. Maybe I’ll be organised enough for that next time!
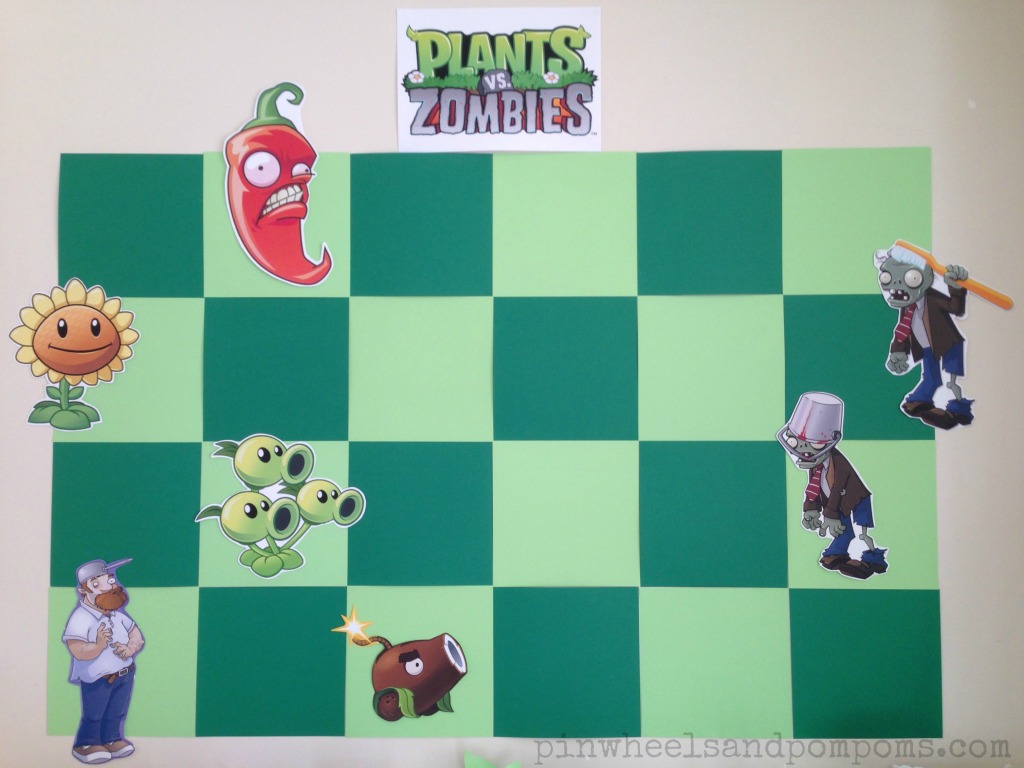
The backdrop to the dessert table was set up to look like the game, with squares of light and dark green. I wanted to use square plastic plates, which would have been a lot easier, but I couldn’t find any near me, and didn’t want to spend a fortune on postage! In the end I bought packets of A4 card stock and trimmed them to size. A bit more time consuming, but I got the effect I was after.
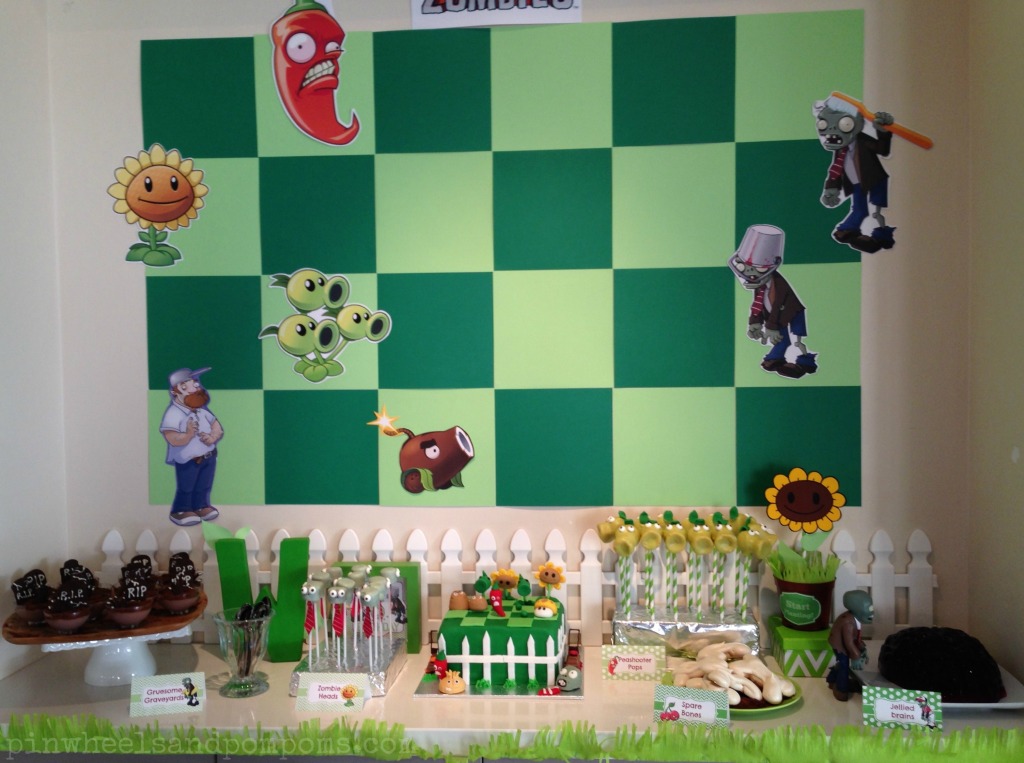
I printed and cut out some of the characters from the game and stuck them on the green squares, with a Plants vs Zombies sign at the top. The little white plastic picket fence I found at the Reject Shop. When I spotted it I thought it would look perfect, and I’m sure I can use it again with other party themes! I stuck a fringe of green crepe paper along the edge of the table for some grass. Have a look at this post to see how to make the fringe.
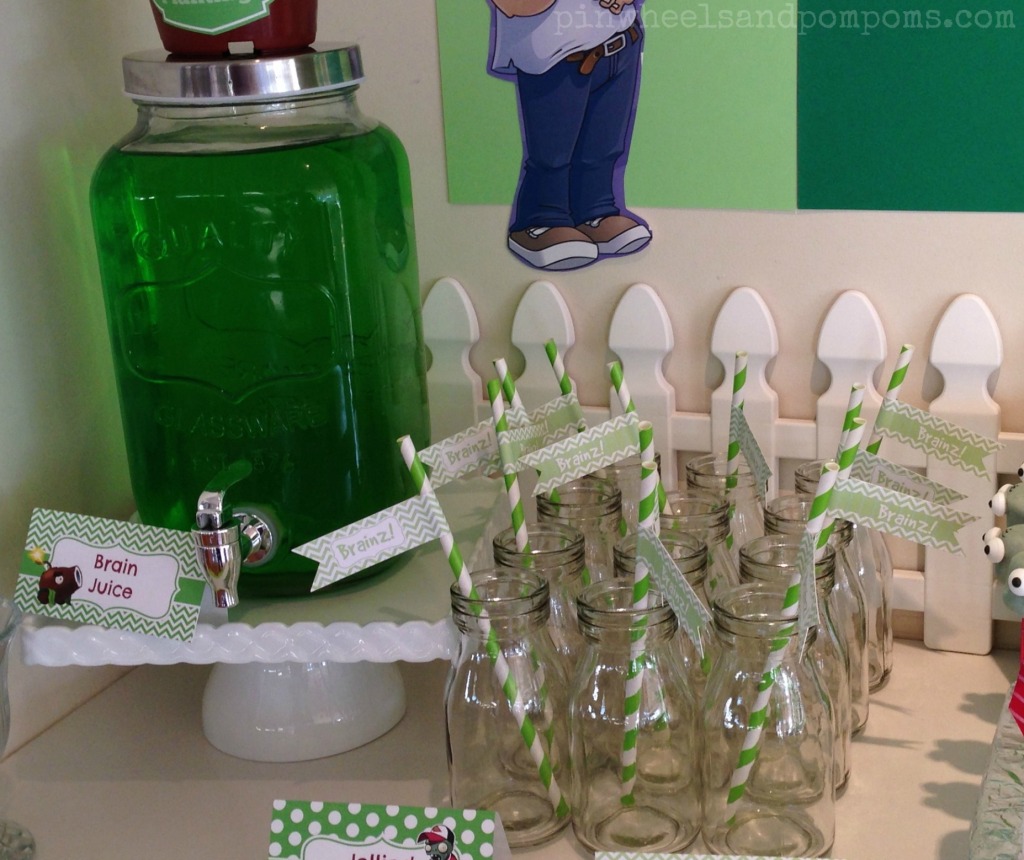
I filled a glass drinks dispenser with green cordial (what do you call that in America? I know cordial is a whole different drink over there – not for the kiddies!) and labelled it Brain Juice. I was aiming to gross out the little fellas as much as I could! I managed to snap up a dozen little milk bottles at a nearby Red Dot store for $1 each – a pretty darn good price for little old Perth. I just love it when I find a bargain! The stripey green straws were decorated with “Brainz!” flags
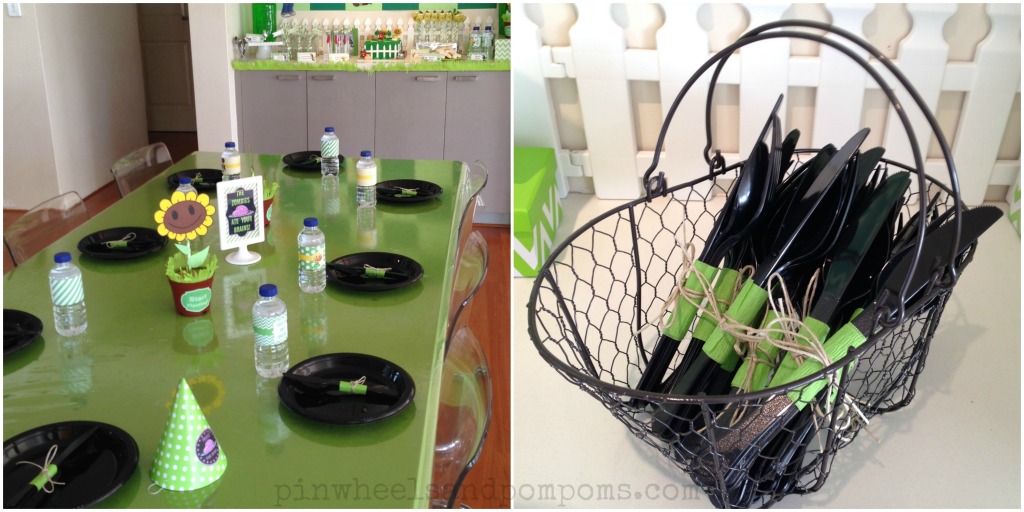
Our freshly painted green dining table was perfect for the occasion and we kept it fairly simple. A couple more of the potted sunflowers, black plates and a framed sign. We wrote their names on the back of the water bottles and the boys placed them where they wanted to sit. I wrapped cutlery sets with some green streamer, and tied them together with twine. Definitely for my sake, not the boys – I thought it looked cute!
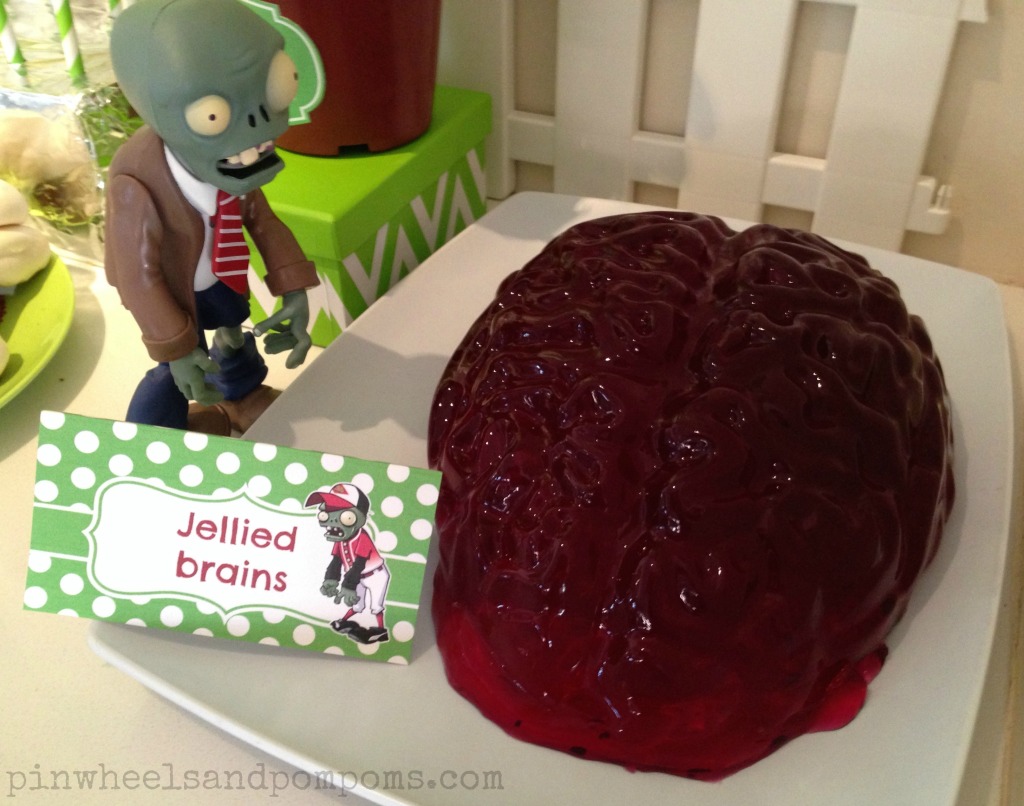
There doesn’t seem to be a lot of PvZ stuff for sale in Perth, so I was limited (probably a good thing!) to just one little zombie who kept turning up all over the place! I left my run too late to take advantage of eBay purchases! Although I was very excited to receive a life size brain jelly mould in time :D. Yay, who doesn’t love wobbly jelly brains!
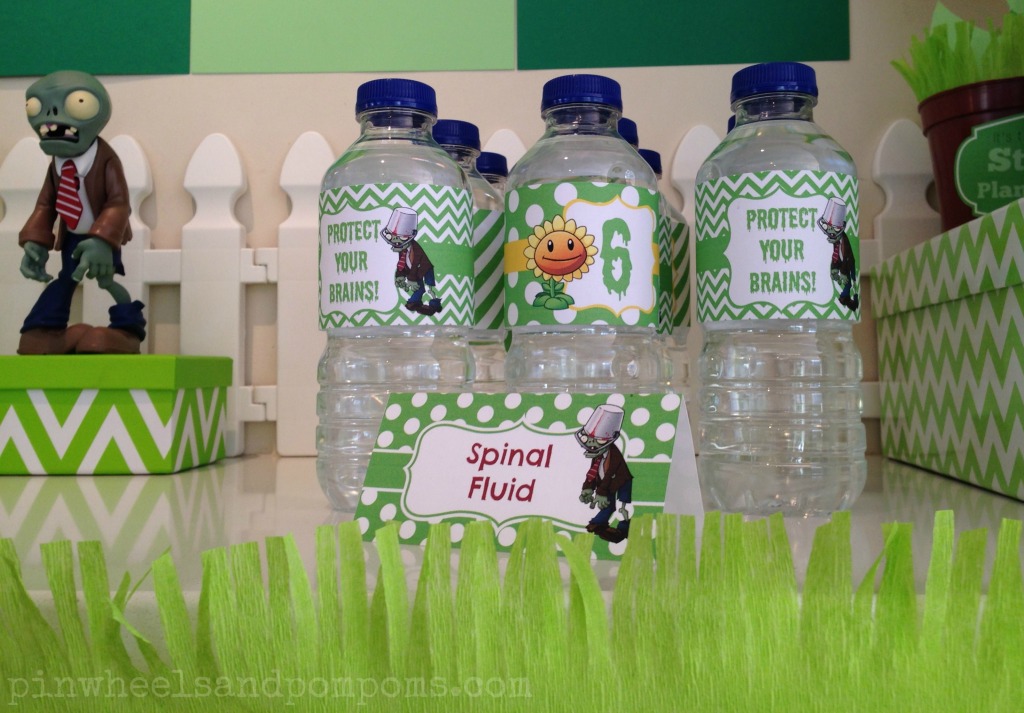
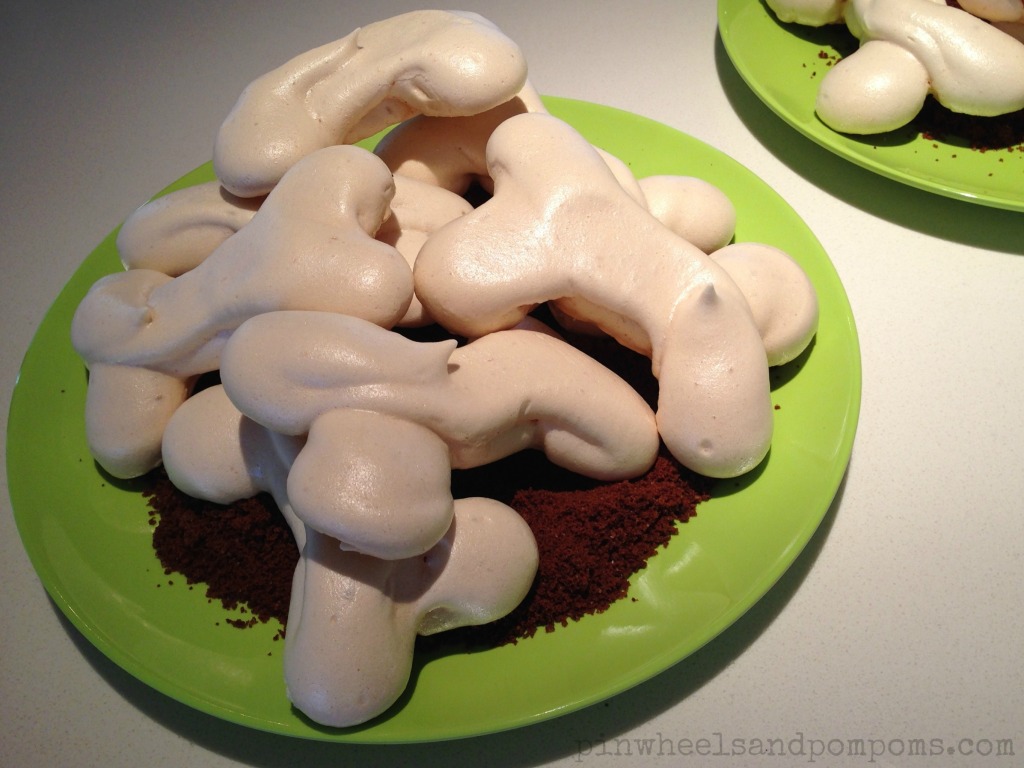
I printed little signs and either put them either in frames or stuck them to the wall with BluTac. My little man loved these, they added to the party atmosphere nicely! I stuck home made labels on bottles of water so the boys could wash down all the sugar ![]() and printed out food tents with awful names like Zombie heads, Gruesome Graveyards, Spare Bones, Jellied Brains and Spinal Fluid. The little meringue bones were a definite hit with the boys!
and printed out food tents with awful names like Zombie heads, Gruesome Graveyards, Spare Bones, Jellied Brains and Spinal Fluid. The little meringue bones were a definite hit with the boys!
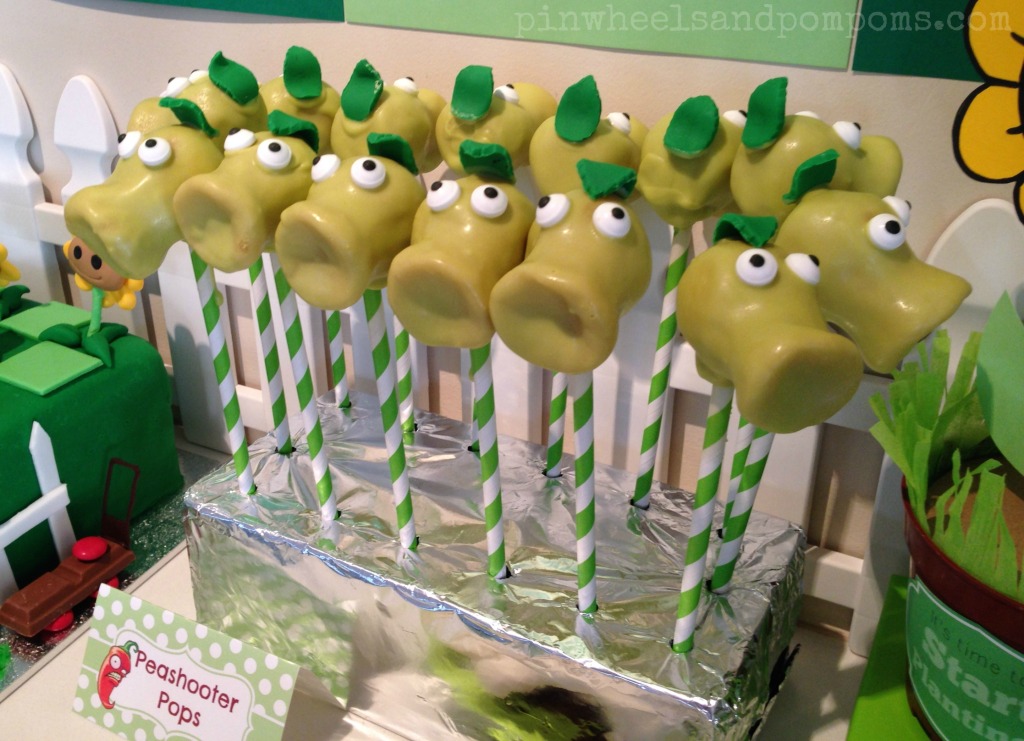
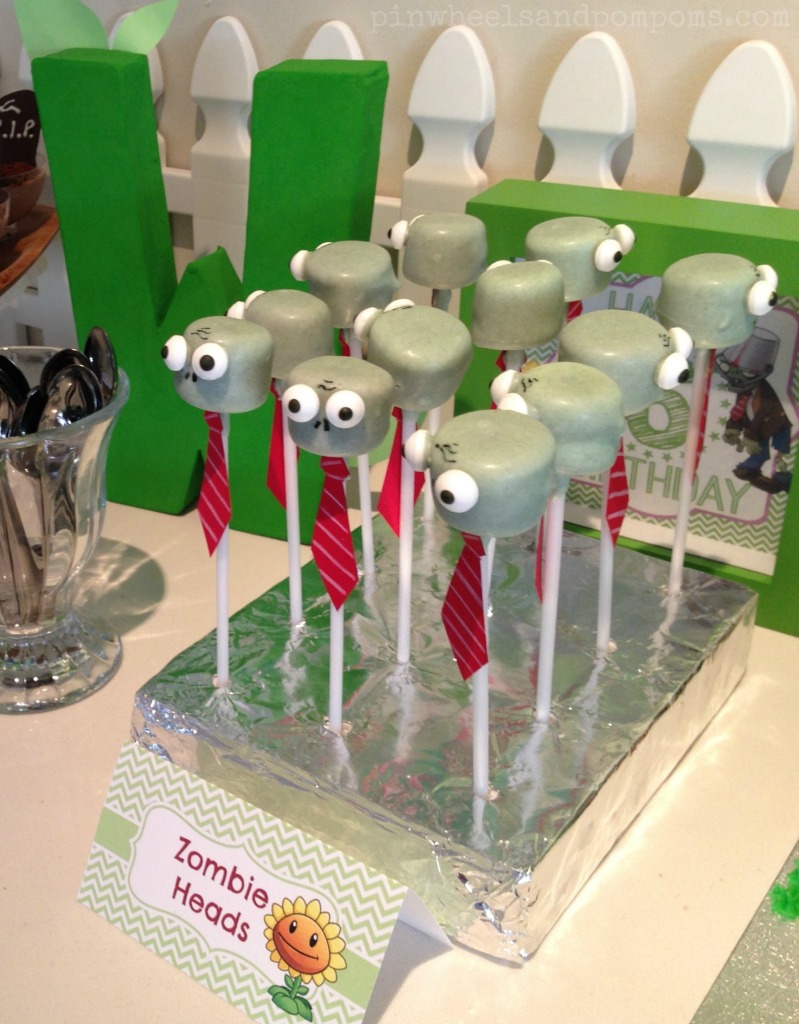
It was my first attempt at making cake pops. I think they were a bit dense, but they looked cute! I’ll have another try soon – the offcuts from the birthday cake are waiting for me in the freezer! I stuck them onto paper straws, added Wilton eyes, and a fondant leaf. They looked like a plate of honky nuts (gum nuts) when I was shaping them!
The zombie heads are marshmallows dipped in white chocolate (inspiration) and little red ties cut out of card stock. They look quite handsome actually. If I make them again, I’ll have to find a better way of drawing on their facial features. The edible pen did not want to write on chocolate
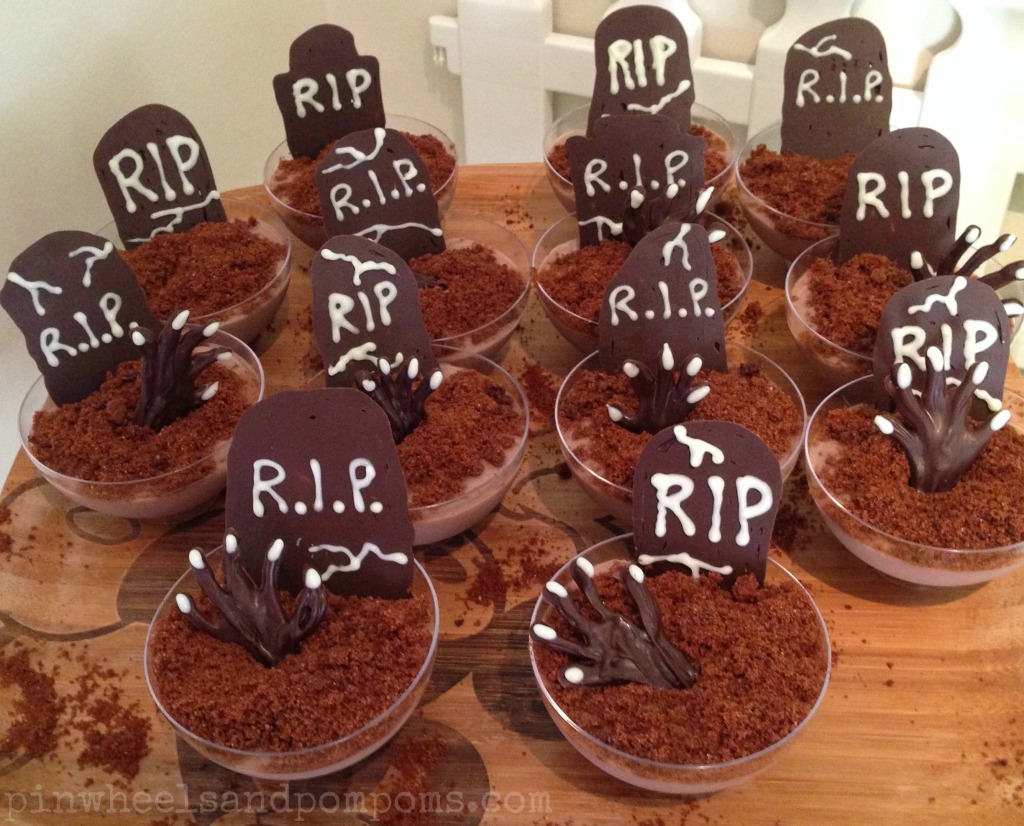
I’m really pleased with my Gruesome Graves. I usually get ideas from other people, but this one I made up myself (round of applause XD ). The mud base is chocolate yogo, or you could use chocolate mousse. On top of that I added a layer of crushed chocolate biscuits for edible dirt (I possibly got that idea from Heston Blumenthal!!) then poked in the headstones and hands I’d made earlier in the week from melted chocolate. I put them in very small bowls – I figured smaller servings were a good idea!
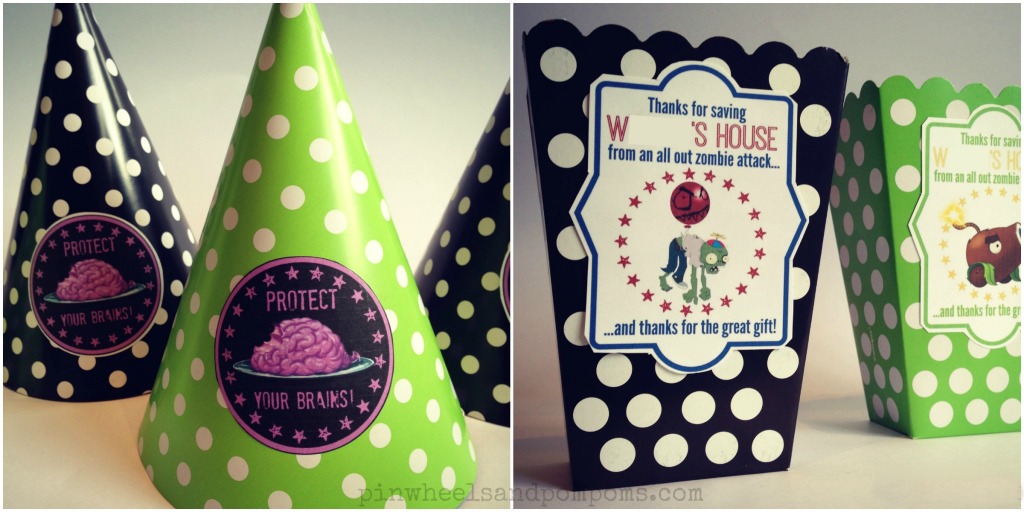
I totally forgot to take photo of the display in the hall, so close your eyes for a moment and imagine this (does that make it a bit hard to read 🙄 ) – potted sunflowers, a stack of hats to protect the boys brains from zombie attack, a bowl full of glowing eyeball bouncy balls (best find for a favour EVER!) and rows of lolly boxes for the end of the party with a thank you note attached. Here’s what the lolly boxes and hats looked like. I’ll have to ask around to see if any of the parents took a photo in the hall!
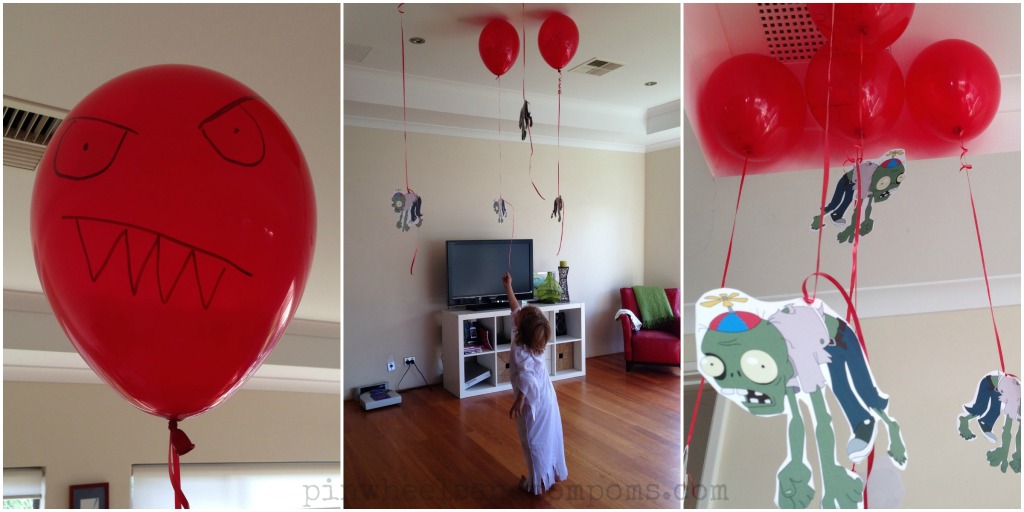
And finally (wow, this sure has been a long one!) here are some shots of the floating red balloon zombies. They were a great decoration for the room, and the boys each got to take one home at the end of the day.
My little man had a wonderful afternoon, although at one stage he did do his version of “It’s my party and I’ll cry if I want to”! He got over it though – you can’t win the prize just because it’s your party buddy! Ah, these life lessons can be so difficult at times! 😉
P.S. I opened my own Etsy store a couple of days ago. I’m working on getting all of the printables I made for this party available. I’ll be adding new items all the time, so be sure to check every now and then!

A penny for your thoughts!